Heightmap Editor — Pixel-Level Control for Perfect Reliefs
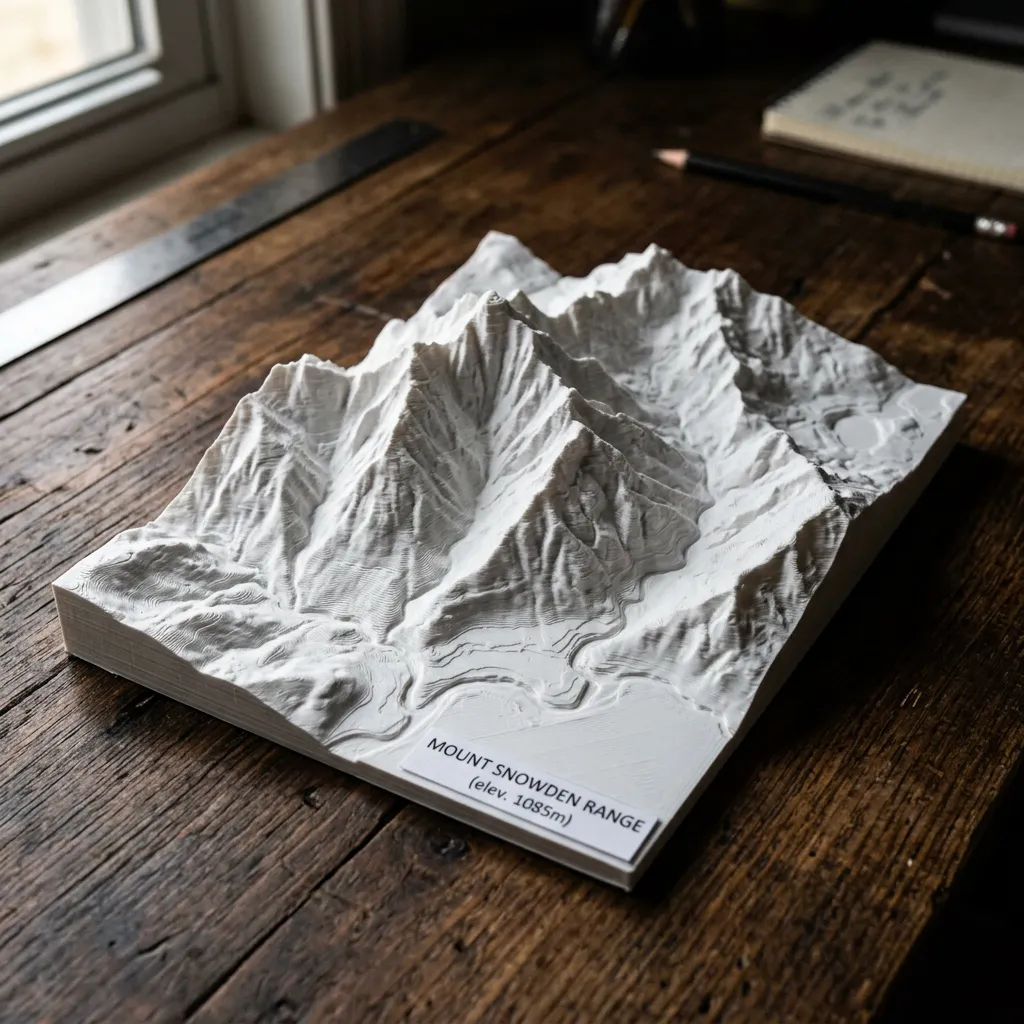
The main converter's height and smoothness sliders are enough for most images. But when a photo has poor contrast, a busy background, or uneven lighting, you need finer control. The heightmap editor gives you the same adjustments a photo editor would — contrast, brightness, threshold, invert — applied directly to the heightmap before the 3D mesh is generated. Each pixel's brightness determines its final height. By adjusting the brightness distribution, you control exactly which parts of your image become raised surfaces and which become recessed.
Understanding the Controls: What Each Slider Actually Does
Contrast — The Most Important Slider
Contrast stretches the brightness histogram. Increasing contrast makes light pixels lighter and dark pixels darker, expanding the brightness range. This directly increases the height range of your 3D relief. An image with a narrow brightness range (lots of medium-gray, few blacks or whites) produces a shallow relief. Boosting contrast spreads those medium values toward the extremes, creating a taller, more dramatic 3D surface. Start with contrast before touching any other setting. Increase until the lightest areas are near-white and darkest areas near-black. Avoid "clipping" (pushing pixels to pure white or black) which loses detail in those regions.
Brightness — Shift the Entire Relief Up or Down
Brightness adds or subtracts a constant value from every pixel. Increasing brightness makes the entire heightmap lighter, which makes every part of the relief taller — effectively adding a uniform base thickness. Decreasing brightness makes everything darker and shorter. Use brightness to adjust the "floor" level of your relief. If the background of your image should be flush with the base plate, decrease brightness until those background pixels approach black (height = 0). If your subject is too recessed, increase brightness to raise it.
Threshold — The Binary Cut
Threshold converts the smooth grayscale heightmap into a binary (black/white) one. All pixels brighter than the threshold become white (maximum height). All pixels darker become black (zero height). This creates a two-level relief with a flat top and vertical walls. Use threshold when you want a clean stamp or embossing die — no gradients, just raised or not raised. The threshold slider lets you choose exactly where the cut happens in the brightness range. Lower threshold = more of the image is raised. Higher threshold = only the brightest parts are raised.
Invert — Embossed vs Engraved
Invert flips the heightmap: light becomes dark, dark becomes light. Embossed (default): bright areas are raised, like a coin with a raised portrait. Engraved (inverted): bright areas are recessed, like text carved into stone. For portraits, embossed typically looks more natural. For text and logos, engraved can look more elegant. Always preview both before downloading — what looks right for one image may look wrong for another. The heightmap editor's live preview lets you toggle instantly.
Reading and Using the Histogram
The histogram is a graph of how many pixels exist at each brightness level. Understanding it is the key to mastering the heightmap editor.
What the Histogram Tells You
The histogram shows brightness from 0 (black, left edge) to 255 (white, right edge). A good histogram for 3D conversion has data spread across the full width, with peaks at both ends and a smooth distribution in between. A bad histogram has all the data clustered in a narrow band in the middle — this means all pixels are similar medium-gray, producing a flat relief. A clipped histogram shows data pushed against the left or right edge, meaning shadow or highlight detail has been lost. In 3D, clipped shadows become flat black areas (zero height), and clipped highlights become flat white plateaus (maximum height with no surface detail).
Common Histogram Shapes and Their 3D Implications
Narrow peak in center (bell curve): Low-contrast image. The relief will be shallow. Increase contrast to spread the data outward. Two peaks (left and right): High-contrast image with clear subject/background separation. This is ideal — it produces a relief with a distinct subject raised above a flat background. Data bunched on left (dark image): Underexposed. Most of the relief will be near zero height. Increase brightness first, then contrast. Data bunched on right (bright image): Overexposed. Most of the relief will be near maximum height — like a plateau with little detail. Decrease brightness, then increase contrast. Gaps or spikes: Indicates posterization or color reduction. The heightmap will have visible steps instead of smooth gradients.
Advanced Techniques: Beyond the Basics
Multi-Level Threshold for Terrain-Like Reliefs
Instead of a single binary threshold (raised or not raised), you can simulate multiple height levels: 1. Set threshold to create the base level (background = 0, subject = max). Download this STL. 2. Lower the threshold to include more of the image. Download this as a second STL. 3. In your slicer, place both models at different Z-heights. The lower-threshold model (more raised area) sits below the higher-threshold model (less raised area), creating a stepped terrain effect. This is an approximation of multi-level relief and works best with images that have natural brightness bands (topographic data, architectural sections).
Dual-Pass Conversion: Separate Foreground and Background
For images where you want different treatment for the subject and background: 1. Use threshold to create a binary mask of just the subject (high threshold = only the brightest subject pixels). Export this as a stamp. 2. Return to the original image, invert, and apply different contrast settings for the background. Export as a separate relief. 3. Combine both STLs in your slicer with the subject stamp raised above the background relief. This technique gives you independent control over the subject's surface detail and the background's texture — something impossible with a single-pass conversion.
Edge Enhancement for Crisp Boundaries
If your subject has soft edges (gradual transition from subject to background), the 3D relief will have a gradual slope instead of a sharp vertical wall. To crisp the edges: increase contrast to maximum briefly, then apply a slight threshold (just enough to remove the softest gradient pixels), then reduce contrast back to normal. This "shocks" the edge pixels toward black or white, creating a harder boundary. The effect is subtle but noticeable in the printed model. Alternatively: use an external tool to apply an unsharp mask or edge detection filter to your image before uploading, then use the heightmap editor for final tuning.
Real-World Case Studies: Before and After Editing
Case 1: Underexposed Indoor Portrait
Problem: A portrait taken indoors without flash. Histogram bunched at the left (dark) with a small bump in the mid-tones for the face. Default conversion produces a nearly flat pancake with a barely-visible face outline. Solution: Brightness +40 to shift the entire histogram right. Contrast +35 to spread the face tones across a wider brightness range. The face now emerges from the background with visible nose, eye sockets, and jawline contours. Took 30 seconds to fix a photo that would have been unusable.
Case 2: Logo on a Gradient Background
Problem: A company logo with a white-to-gray gradient background. The gradient creates a sloping surface behind the logo, making it look like the logo is sinking into a hill. Solution: Threshold set to 60% — this cuts off the gray gradient completely, making the background pure black. The logo (white) remains raised at full height. Result: clean, flat background with crisp logo extrusion. The gradient is completely eliminated.
Case 3: Overexposed Landscape
Problem: A bright, washed-out landscape photo. Sky is pure white (clipped), foreground is pale gray. No dark areas anywhere. Histogram bunched at the right. Default conversion produces a plateau with no detail. Solution: Brightness -50 to shift the histogram left, recovering the clipped sky area into the mid-tones. Contrast +50 to stretch the remaining mid-tones into a usable range. The result still has less detail than a properly-exposed photo, but now shows discernible landforms and sky gradient instead of a flat white block.
Case 4: Hand-Drawn Sketch with Paper Texture
Problem: A pencil sketch scanned from paper. The paper texture creates a noisy heightmap. Pencil lines are thin and gray, not black. Default conversion produces a bumpy surface with faint, barely-visible lines. Solution: Contrast +60 to darken the pencil lines and lighten the paper. Threshold +25 to cut off the paper texture noise. The result: a clean two-level relief (raised lines on flat background) — like a printing plate. The pencil sketch is now a usable 3D stamp.
Heightmap Editor Questions
- What order should I adjust the controls?
- 1. Contrast — always first. Spread the brightness values across the full range. 2. Brightness — shift the overall floor level. 3. Threshold — only if you want a binary relief. Skip for smooth gradients. 4. Invert — try both and choose. 5. In the 3D panel: adjust height scale and smoothness last, once the heightmap itself looks right. This order works because each step builds on the previous one. Changing contrast after threshold, for example, will shift where the threshold cut happens.
- My image is too dark overall. Which control fixes that?
- If the entire image is dark (underexposed), all pixels cluster near black, producing a very shallow relief. Increase brightness first to shift the whole histogram upward. Then increase contrast to spread the mid-tones. You may need to increase both significantly for a severely underexposed image. The live preview shows the effect instantly.
- When should I NOT use the heightmap editor?
- Skip the editor when: your source image already has good contrast (clear blacks and whites), you are converting text or simple logos (the main converter handles these well), or you want the fastest possible workflow. The heightmap editor is for images that need fixing — not a required step for every image. Most well-lit photos convert fine without it.
- Can I save my heightmap adjustments as a preset?
- The editor does not save presets, but the controls are simple enough that you can remember or write down the values (e.g., "contrast +30, brightness -10, threshold off"). Once you find a combination that works for your typical image type, re-applying it takes seconds. All processing is local and instant, so you are never waiting for results.
The heightmap editor pairs well with these tools for complete control over your 3D reliefs.